
So you’ve finished editing your video in Premiere Pro – congrats! Now comes the final step: rendering it out so you can share it with the world. Don’t worry, it’s easier than it sounds. Let me walk you through it.
What Does “Rendering” Mean Anyway?
Think of rendering like baking a cake. You’ve mixed all your ingredients (clips, effects, transitions), and now you need to bake it into a final product. Rendering takes all those edits and creates one complete video file.
The Simple Way to Export Your Video
Here’s the easiest method:
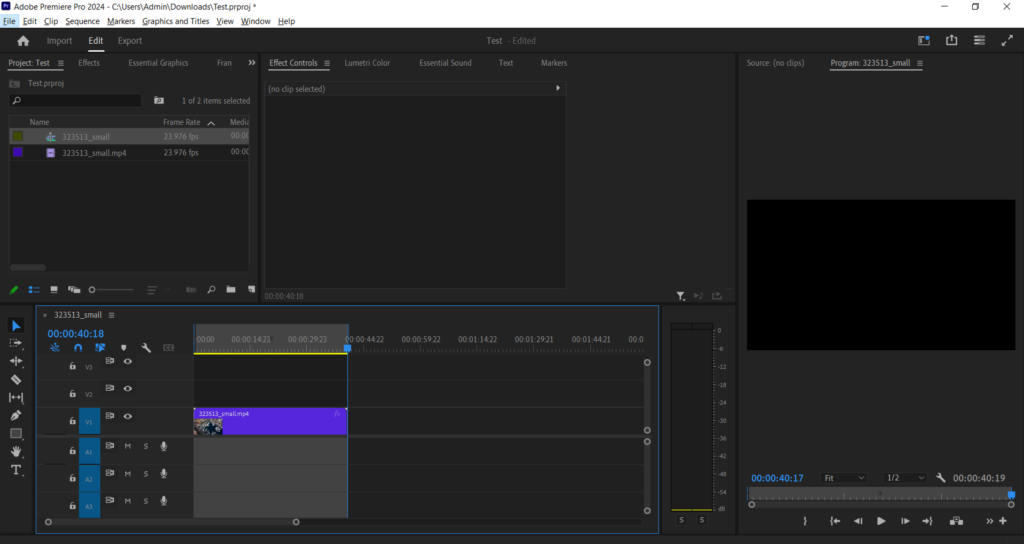
Step 1: Check Your Timeline
Make sure your playhead (that blue line) is somewhere on your timeline. If you want to export just a portion, set your in and out points by pressing “I” and “O” on your keyboard.
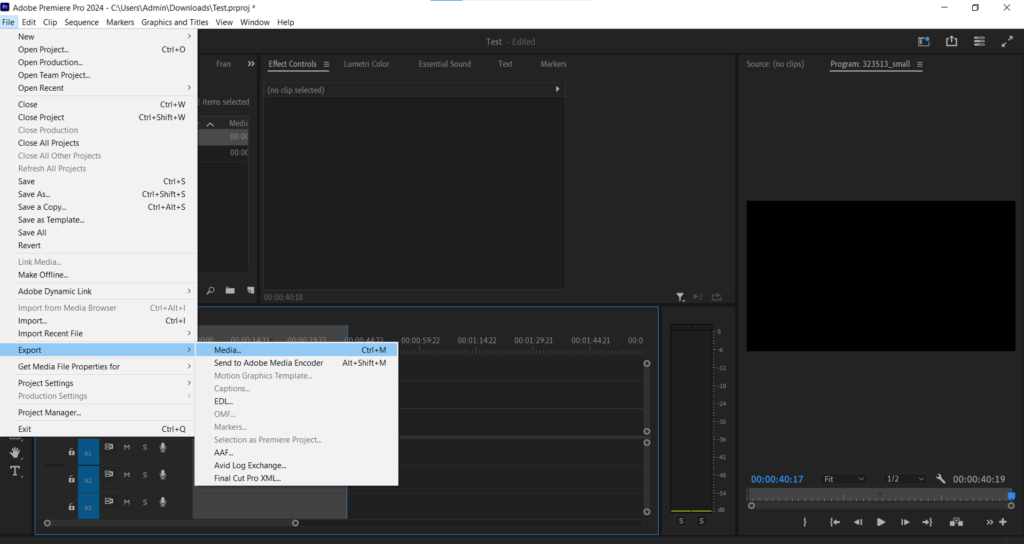
Step 2: Go to File > Export > Media
You can also use the keyboard shortcut Ctrl+M (Windows) or Cmd+M (Mac). This opens the Export Settings window – your control center for rendering.
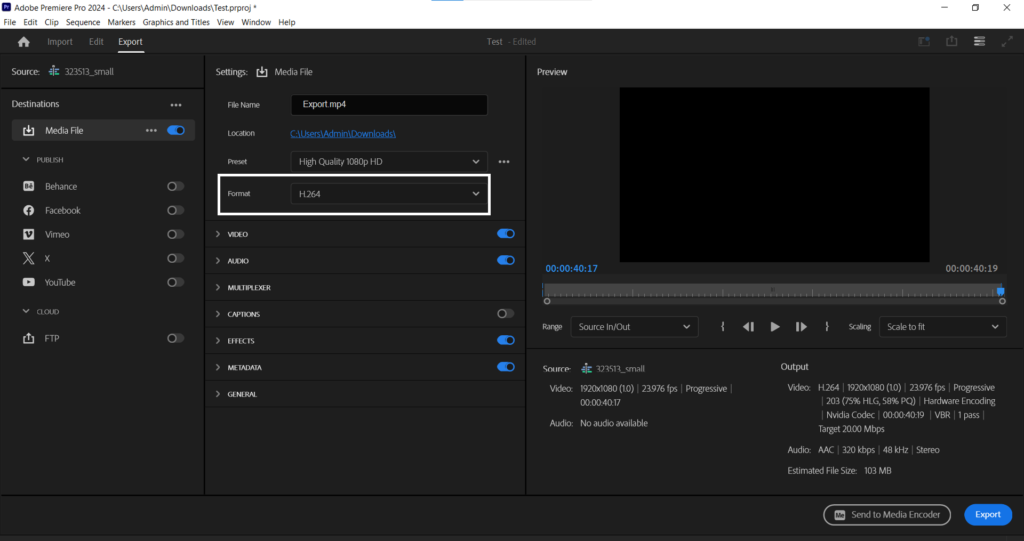
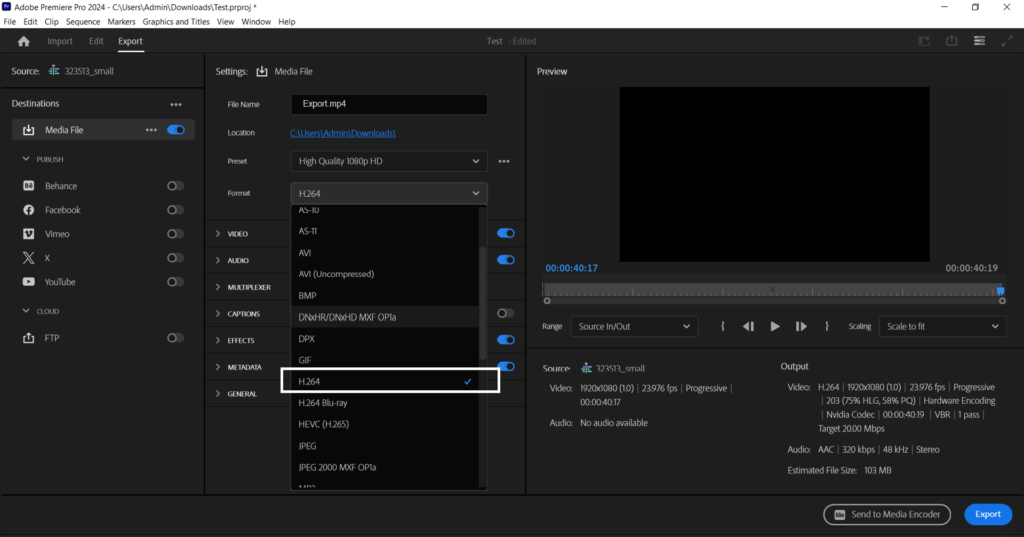
Step 3: Choose Your Format
At the top of the Export Settings window, you’ll see “Format.” For most people, H.264 is your best friend. It creates smaller file sizes that work everywhere – YouTube, Instagram, you name it.
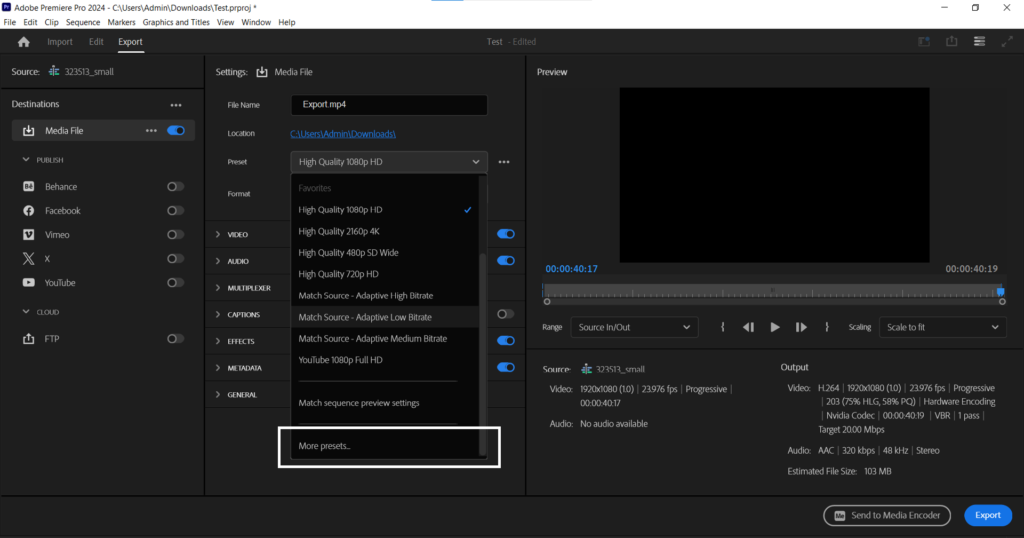
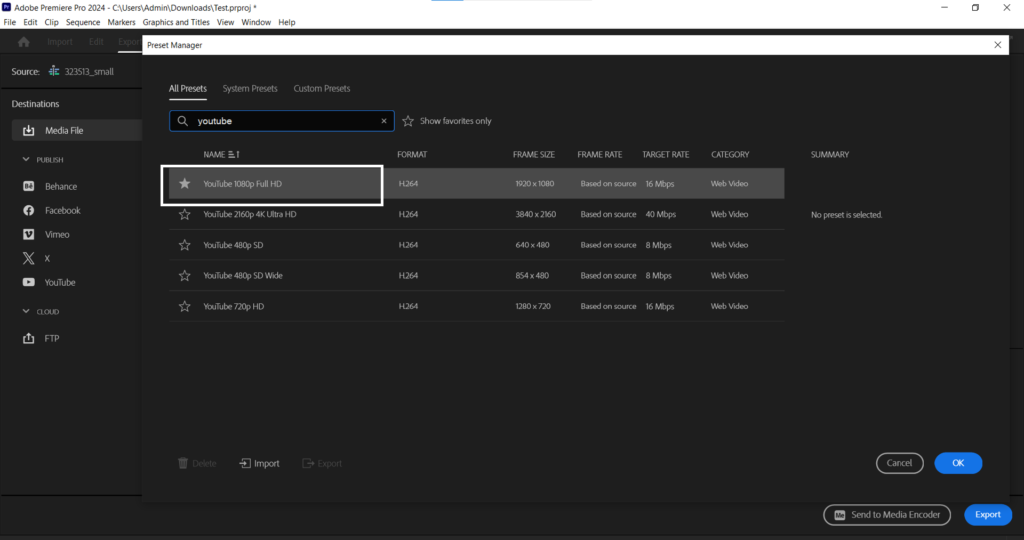
Step 4: Pick a Preset
Right below Format, there’s a Preset dropdown. Premiere Pro has done the heavy lifting for you with options like “YouTube 1080p HD” or “Match Source – High bitrate.” If you’re not sure, “Match Source” is a safe bet that keeps your video quality close to the original.
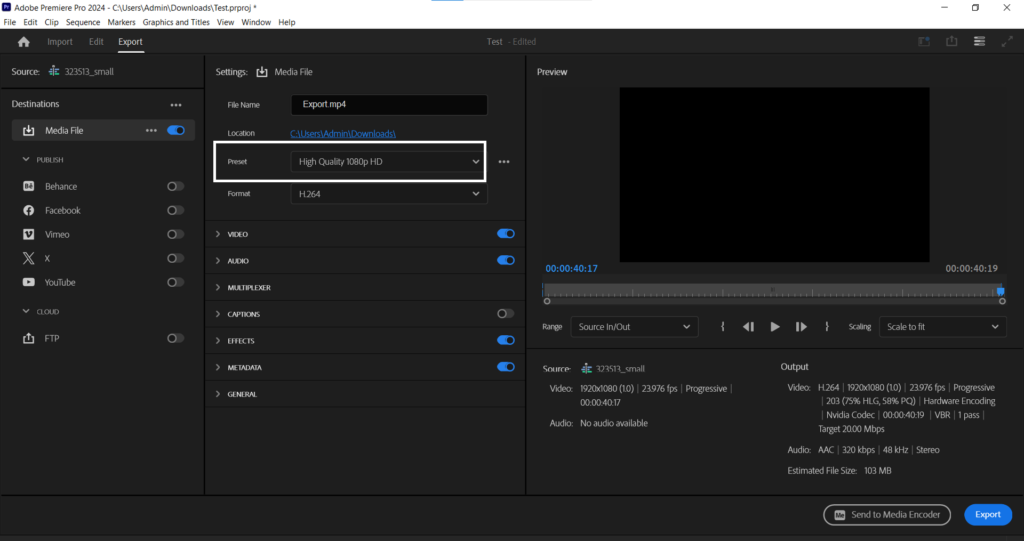
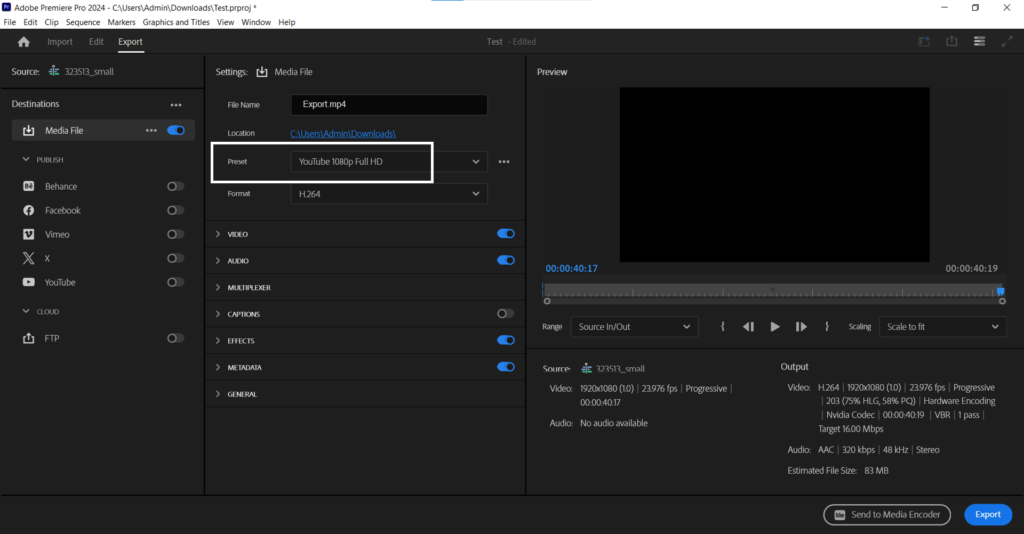
Step 5: Name Your File
Click the blue filename at the top to choose where your video will save and what it’s called. Trust me, you’ll want to pick somewhere you can easily find it later!
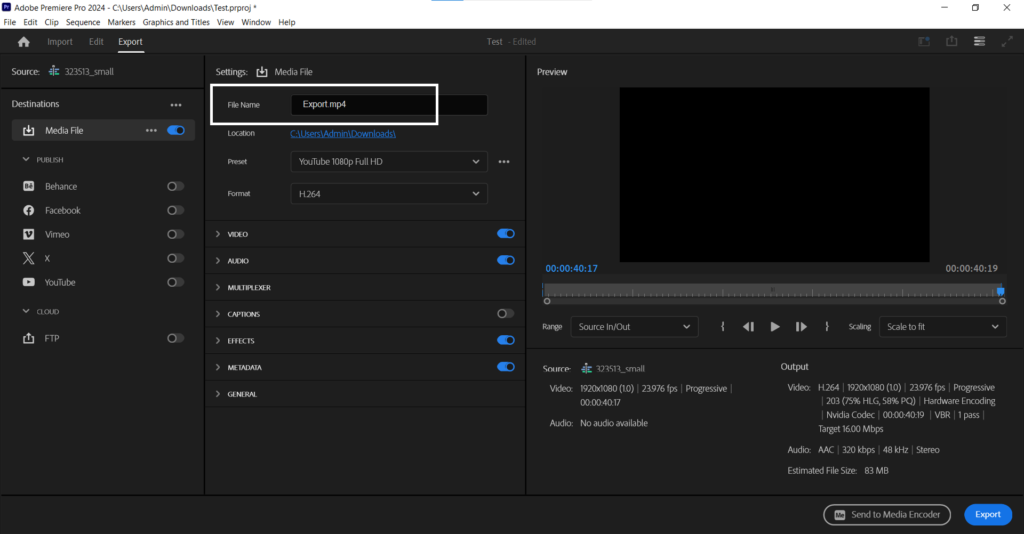
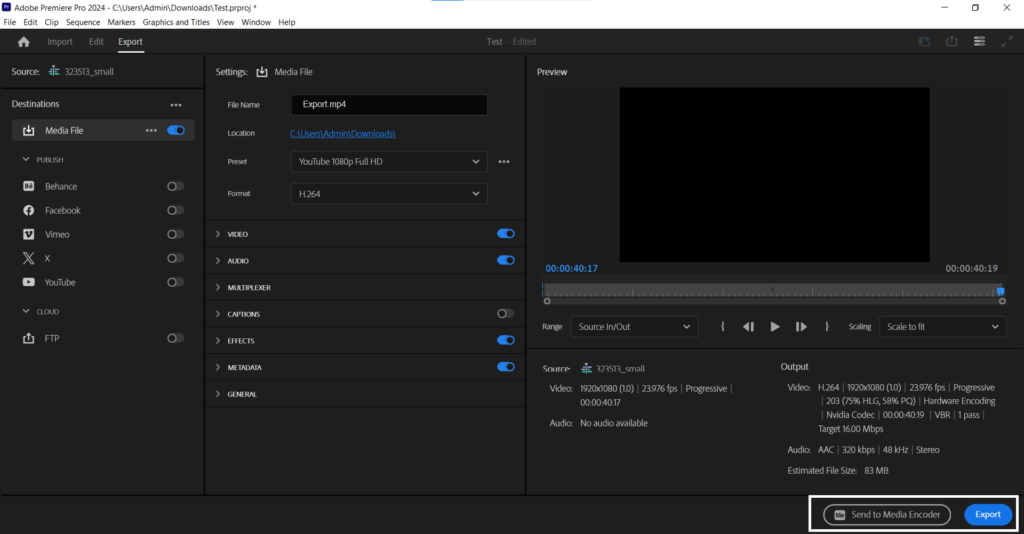
Step 6: Hit Export
That big blue Export button at the bottom right? That’s your finish line. Click it and let Premiere Pro do its magic.
How Long Will This Take?
Rendering time depends on your video length, how many effects you used, and your computer’s power. A simple five-minute video might take 10-15 minutes. A complex project with lots of effects could take much longer. Grab a coffee and be patient!
Pro Tips for Smoother Rendering
Use a fast hard drive. Rendering to an SSD is much faster than a regular hard drive.
Close other programs. Give Premiere Pro all your computer’s attention for faster rendering.
Render in the background. Premiere Pro lets you keep working on other projects while rendering, though your computer might slow down a bit.
What If Something Goes Wrong?
If your export fails or looks weird, try these quick fixes:
- Make sure you have enough hard drive space (at least double your project size)
- Update Premiere Pro to the latest version
- Try a different preset or format
- Restart Premiere Pro and try again
Quick Recap
Export is really just: File > Export > Media > Pick H.264 > Choose a preset > Name it > Export. That’s it! Once you do it a few times, it becomes second nature.
Now go create something awesome and share it with the world. You’ve got this!